Automazione Ricarica Dinamica Veicoli Elettrici con Home Assistant
Automazione ricarica veicoli elettrici - Scopri come automatizzare la ricarica del tuo veicolo elettrico con Home Assistant.
Cos'è l'Automazione di Ricarica Dinamica per Veicoli Elettrici?
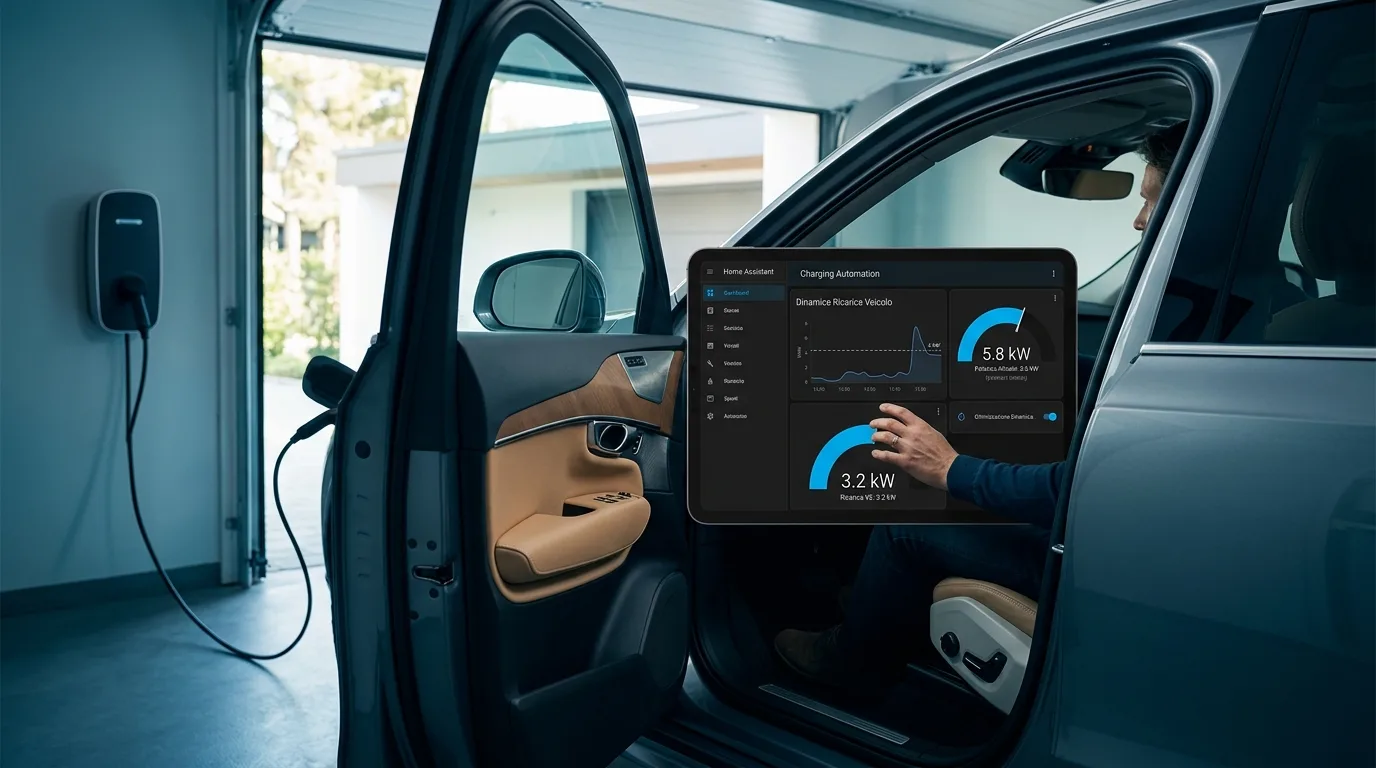
automazione ricarica veicoli elettrici è al centro della novità: L'automazione di ricarica dinamica per veicoli elettrici (EV) è una soluzione avanzata progettata per integrare la gestione della ricarica dell'auto con il consumo energetico domestico. Questo sistema, compatibile con qualsiasi veicolo elettrico e caricatore purché integrabile in home Assistant, regola in tempo reale la corrente di ricarica per evitare di superare la potenza contrattuale della propria abitazione. L'obiettivo è massimizzare l'utilizzo dell'energia disponibile senza incorrere in sovraccarichi o interruzioni, ottimizzando così i costi e l'efficienza energetica. Il sistema permette anche di impostare limiti di potenza differenti per il giorno e la notte, sfruttando le tariffe elettriche più convenienti.
Aggiornamento Blueprint v2.2: La versione più recente introduce il tracciamento opzionale della posizione del veicolo o della persona. Questo permette di disabilitare i controlli basati sulla posizione, rendendo il blueprint più flessibile per scenari con caricabatterie condivisi o famiglie con più veicoli. La versione 2.1 ha migliorato il supporto per lo stato di ricarica, rendendolo insensibile alle maiuscole e compatibile con integrazioni come ESPhome Tesla BLE.
Come Funziona l'Automazione di Ricarica Dinamica
automazione ricarica veicoli elettrici - Il cuore di questa automazione risiede nella capacità di monitorare costantemente il consumo totale di energia della casa. Basandosi su questo dato, il sistema calcola quanta potenza è effettivamente disponibile per la ricarica dell'EV. Se il consumo domestico aumenta, la corrente di ricarica dell'auto viene ridotta automaticamente per rimanere entro il limite contrattuale. Al contrario, quando il consumo domestico diminuisce, la corrente di ricarica viene aumentata per sfruttare al meglio l'energia disponibile. Questo processo dinamico assicura che la ricarica avvenga sempre in modo efficiente e sicuro, adattandosi alle esigenze energetiche della casa in ogni momento. L'automazione può anche gestire l'avvio e l'arresto della ricarica, intervenendo quando la potenza disponibile scende al di sotto di una soglia minima impostata.
Installazione del Blueprint in Home Assistant
L'integrazione di questa automazione in Home Assistant è resa semplice grazie alla disponibilità di un blueprint. Esistono due metodi principali per installarlo:
Importazione Diretta
Il modo più rapido per installare il blueprint è tramite importazione diretta. Dopo aver copiato l'URL del file YAML dal repository GitHub, è sufficiente navigare in Home Assistant su Impostazioni > Automazioni e Scene > Blueprint. Cliccando su "Importa Blueprint" in basso a destra, si potrà incollare l'URL e procedere con l'importazione.
Installazione Manuale
In alternativa, è possibile installare il blueprint manualmente copiando il contenuto del file YAML e incollandolo nella sezione appropriata delle automazioni di Home Assistant.
Configurazione dei Parametri
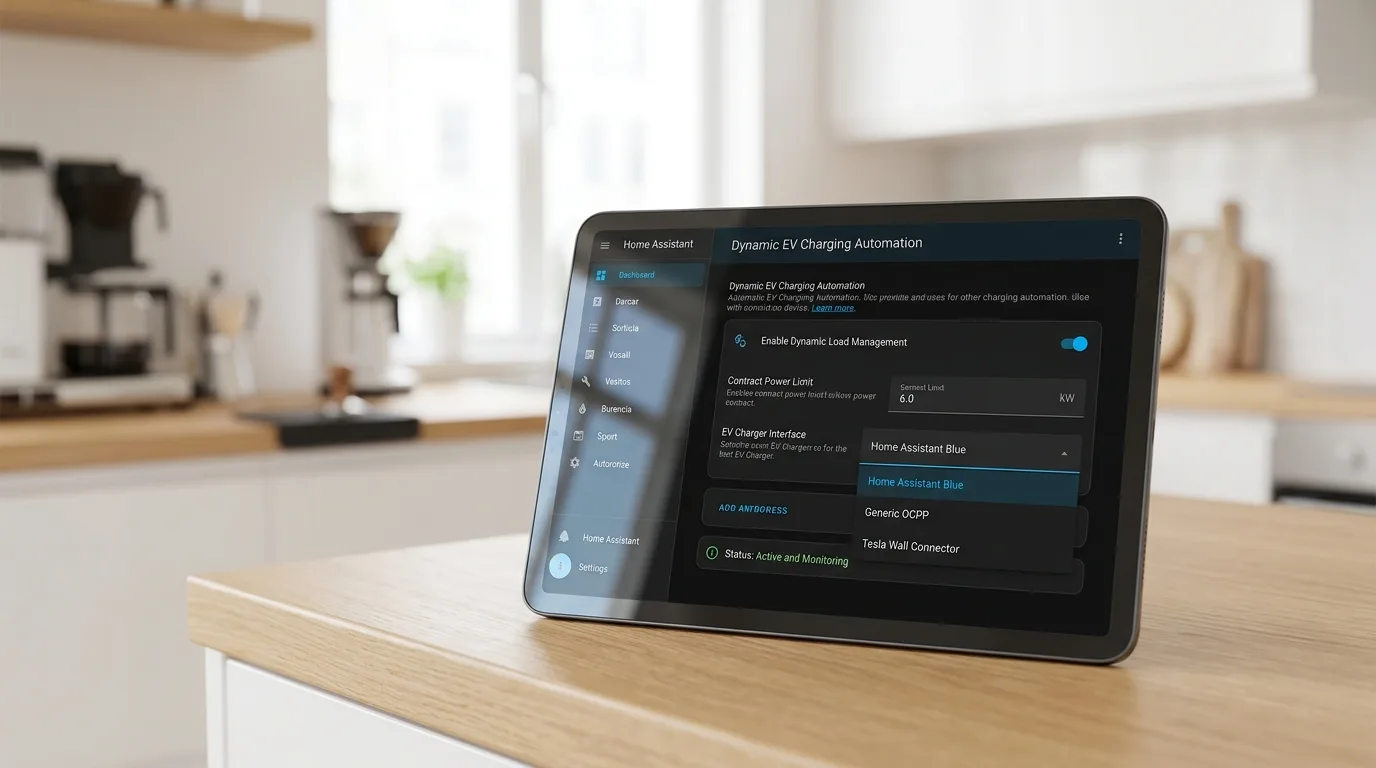
Una volta importato il blueprint, sarà necessario configurare diversi parametri per adattare l'automazione alle proprie esigenze specifiche. Tra le impostazioni principali figurano:
- Intervallo di Regolazione: Definisce ogni quanti minuti l'automazione deve controllare e, se necessario, aggiustare la corrente di ricarica. Valori più brevi (es. 1 minuto) garantiscono una reazione più rapida alle fluttuazioni di potenza.
- Sensore di Ricarica EV: Un sensore che indica se il veicolo è effettivamente in carica.
- Sensore di Consumo Domestico: Misura la potenza totale assorbita dall'abitazione.
- Potenza Massima di Rete (Giorno/Notte): I limiti di potenza contrattuale per le diverse fasce orarie.
- Corrente di Ricarica: L'entità che controlla l'amperaggio di ricarica del veicolo.
- Tensione e Amperaggio Massimo/Minimo: Parametri relativi alla rete elettrica e alle capacità del caricatore/veicolo.
È anche possibile configurare un tracciamento opzionale del dispositivo per assicurarsi che l'automazione intervenga solo quando il veicolo è effettivamente presente a casa.
Hardware Testato e Compatibilità
Il blueprint è stato testato con successo con diversi componenti hardware, tra cui il Shelly EM Energy Meter, veicoli Tesla con integrazione Tesla Fleet e caricabatterie Feyree Type 2 (sia portatile che wallbox). La chiave per la compatibilità è la possibilità di controllare il veicolo o il caricabatterie tramite Home Assistant. Se il proprio caricabatterie o veicolo è integrabile, è molto probabile che questa automazione possa essere utilizzata con successo.
Codice YAML completo
Di seguito è riportata la configurazione originale, senza modifiche.
blueprint:
  name: Dynamic EV Charging Automation v2.2
  description: >
    **v2.2 - Optional location tracker**
    - The Car/Person Location Tracker is now optional
    - Leave it empty to disable location-based checks
    - Useful for shared chargers, multi-vehicle households, or when
      the charger may serve cars not linked to the configured tracker

    **v2.1 - Added case-insensitive charging status support
    - Added support for "Charging" (capital C) status from ESPhome Tesla BLE
    - Improved status detection to support multiple case variations
    **v2.0 - Added start/stop control and fixed power calculation
    - Added charger toggle control for start/stop
    - Fixed power calculation formula
    - Added gradual adjustment to prevent charger errors
    - Improved oscillation prevention

    This automation dynamically adjusts the charging current of an electric vehicle (EV) based on the total power consumption in the household.

    It ensures that the EV charger does not exceed the available power, preventing overloads and optimizing energy usage. The system continuously monitors home power consumption and regulates the charging rate accordingly.

    You can configure two different charging periods (Day and Night) if your electricity contract has varying power limits at different times.

    Depending on what you have exposed in Home Assistant you could target your car or your charger. Works with any EV charger that supports amperage control via Home Assistant.
  domain: automation
  input:
    interval:
      name: Adjustment Interval (minutes)
      description: >
        Interval in minutes to adjust the charging amperage dynamically.

        The automation will check the total household power consumption at this interval and adjust the EV charging current accordingly. A shorter interval (e.g., 1 minute) allows faster reactions to power fluctuations, while a longer interval (e.g., 5 minutes) reduces the number of adjustments but may respond more slowly to changes in home energy use.

        Choose the interval based on how frequently you want the system to update the charging current in response to changes in household power consumption.
      default: /1
      selector:
        select:
          options:
            - label: "1 minute"
              value: /1
            - label: "3 minutes"
              value: /3
            - label: "5 minutes"
              value: /5
    device_tracker:
      name: Car/Person Location Tracker (Optional)
      description: >
        Optional entity that determines whether the electric vehicle (EV) is at home.

        Leave this field empty to disable the location check entirely. This is useful when:
        - Your charger may serve cars not linked to the configured tracker (guests, family vehicles, etc.)
        - You own more than one car and don't want to tie regulation to a specific person/vehicle
        - You want the automation to regulate based purely on the charging sensor state

        When set, the automation will only adjust the charging current if the tracked entity is at "home".
      default: ""
      selector:
        entity:
          domain: device_tracker
    sensor_charging:
      name: EV Charging Sensor
      description: >
        Sensor that detects whether the electric vehicle (EV) is currently charging.

        The automation will only adjust the charging amperage if this sensor indicates that the EV is actively charging.

        If the vehicle is at home but not plugged in or has already completed charging, no changes will be made to the charging current.
      default: sensor.ev_charger_estado
      selector:
        entity:
          domain: sensor
    charger_toggle:
      name: EV Charging Toggle (Start/Stop)
      description: >
        Select entity that controls the charging state of the EV charger.

        This entity should support options like "Start charging", "Stop charging", or similar commands.

        When the calculated amperage falls below the minimum threshold, the automation will use this entity to stop charging instead of setting amperage to 0.

        When power becomes available again, it will restart charging and set the appropriate amperage.
      default: select.ev_charger_toggle_charging
      selector:
        entity:
          domain: select
    sensor_house_power:
      name: Total Power Consumption Sensor
      description: Sensor that measures the total power consumption of the household in real-time.  This value is used to determine the available power for charging the electric vehicle (EV), ensuring that the charging current is dynamically adjusted to prevent exceeding the contracted power limit.
      default: sensor.shellyemg3_8cbfea96acd8_em1_power
      selector:
        entity:
          domain: sensor
          device_class: power
    max_grid_power_day:
      name: Maximum Grid Power during the day (W)
      description: The maximum contracted power (in watts) available for your home during daytime hours. This value determines the upper power limit when calculating the available energy for charging the electric vehicle (EV). Set this to **0** if you only want to allow charging during nighttime hours.
      default: 4700
      selector:
        number:
          min: 0
          max: 15000
          step: 100
    max_grid_power_night:
      name: Maximum Grid Power during the night (W)
      description:   The maximum contracted power (in watts) available for your home during nighttime hours. This value sets the upper power limit when calculating the available energy for charging the electric vehicle (EV). If your electricity provider allows higher power usage at night, you can set a higher value here to optimize charging.
      default: 6200
      selector:
        number:
          min: 0
          max: 15000
          step: 100
    charging_current:
      name: Charging Current Control
      description: Entity that controls the charging amperage of the electric vehicle (EV). This must be a `number` entity that allows adjusting the charging current dynamically. The automation will modify this value based on the available power in the household, ensuring efficient energy use and preventing overloads.
      default: number.ev_charger_set_charge_current
      selector:
        entity:
          domain: number
    voltage:
      name: Voltage
      description: Voltage used in your location (e.g., 120V for USA, 230V for EU)
      default: 230
      selector:
        number:
          min: 100
          max: 240
          step: 10
    max_amps:
      name: Maximum amps
      description:   Select the maximum charging current (in amps) that the electric vehicle (EV) should use. The automation will never set the charging amperage above this limit, even if there is enough available power in the household. Set this value according to the specifications of your EV charger and electrical system to ensure safe and optimal charging.
      default: 20
      selector:
        number:
          min: 6
          max: 32
          step: 1
    min_amps:
      name: Minimum amps
      description:   Select the minimum charging current (in amps) that the electric vehicle (EV) should use. If the calculated charging amperage falls below this value due to limited available power, the automation will stop charging until more power is available. This helps prevent inefficient low-power charging and ensures the EV charges only when there is sufficient energy available.
      default: 8
      selector:
        number:
          min: 6
          max: 32
          step: 1
    day_time_days:
      name: Day Time Active Days
      description: Select the days of the week when the 'day_time' mode should be active. During these selected days, the automation will apply the maximum contracted power for daytime charging. If your electricity provider offers different power limits on specific days, you can configure this accordingly to optimize charging.
      default:
        - mon
        - tue
        - wed
        - thu
        - fri
      selector:
        select:
          multiple: true
          options:
            - label: Monday
              value: "mon"
            - label: Tuesday
              value: "tue"
            - label: Wednesday
              value: "wed"
            - label: Thursday
              value: "thu"
            - label: Friday
              value: "fri"
            - label: Saturday
              value: "sat"
            - label: Sunday
              value: "sun"
    day_time_start:
      name: Day Time Start Hour
      description: Choose the starting hour for 'day_time' mode. At this time, the automation will switch to the maximum contracted power for daytime charging. This is useful if your electricity provider allows higher power usage during specific hours or if you want to prioritize charging during the day. Make sure this time aligns with your electricity plan to optimize energy consumption.
      default: 8
      selector:
        number:
          min: 0
          max: 23
          step: 1
    day_time_end:
      name: Day Time End Hour
      description: Choose the ending hour for 'day_time' mode. After this time, the automation will switch to nighttime settings, adjusting the charging power accordingly.
      default: 24
      selector:
        number:
          min: 0
          max: 24
          step: 1

triggers:
  - trigger: time_pattern
    minutes: !input interval

variables:
  device_tracker_input: !input device_tracker

condition:
  - condition: and
    conditions:
      - condition: or
        conditions:
          - condition: template
            value_template: "{{ device_tracker_input in [none, '', 'none'] }}"
          - condition: state
            entity_id: !input device_tracker
            state: home
      - condition: state
        entity_id: !input sensor_charging
        state:
          - 'charging'
          - 'charged'
          - 'plugged_in'
          - 'Charging'
          - 'CHARGING'

action:
  - variables:
      voltage: !input voltage
      max_amps: !input max_amps
      min_amps: !input min_amps
      sensor_house_power_entity: !input sensor_house_power
      charging_current_entity: !input charging_current
      sensor_charging_entity: !input sensor_charging
      charging_current_value: "{{ states(charging_current_entity) | float(0) }}"
      grid_power: "{{ states(sensor_house_power_entity) | float(0) }}"
      total_consumption: "{{ states(sensor_house_power_entity) | float(0) }}"
      charger_consumption: |-
        {% set state = states(sensor_charging_entity) | lower %}
        {% if state in ['charging', 'plugged_in', 'waiting_for_authorization', 'waiting'] %}
          {{ charging_current_value * voltage }}
        {% else %}
          0
        {% endif %}
      max_grid_power_day: !input max_grid_power_day
      max_grid_power_night: !input max_grid_power_night
      day_time_days: !input day_time_days
      day_time_start: !input day_time_start
      day_time_end: !input day_time_end
      current_day: "{{ ['mon', 'tue', 'wed', 'thu', 'fri', 'sat', 'sun'][now().weekday()] }}"
      is_day_time: "{{ current_day in day_time_days and day_time_start <= now().hour < day_time_end }}"
      actual_free_power: |-
        {% if is_day_time %}
          {{ [0, max_grid_power_day - total_consumption + charger_consumption] | max }}
        {% else %}
          {{ [0, max_grid_power_night - total_consumption + charger_consumption] | max }}
        {% endif %}
      # Compute new_target_value once before starting the adjustment loop
      new_target_value: >-
        {% set raw_amps = (actual_free_power / voltage) | float %}
        {% if raw_amps > max_amps %}
          {{ max_amps | float }}
        {% elif raw_amps < min_amps %}
          0.0
        {% else %}
          {{ raw_amps | int }}
        {% endif %}

  # First: Control charging state (Start/Stop)
  - service: select.select_option
    target:
      entity_id: !input charger_toggle
    data:
      option: |-
        {% if actual_free_power / voltage >= min_amps %}
          Start charging
        {% else %}
          Stop charging
        {% endif %}

  - repeat:
      while:
        # While the difference between the current charging value and new_target_value is >= 1 A,
        # continue adjusting the current in steps of 1 amp
        - condition: template
          value_template: >-
            {% set current_amps = states(charging_current_entity) | float %}
            {% set diff = (current_amps - (new_target_value | float)) | abs %}
            {{ diff >= 1 }}
      sequence:
        - service: number.set_value
          target:
            entity_id: !input charging_current
          data:
            value: >-
              {% set current_amps = states(charging_current_entity) | float %}
              {% if current_amps < (new_target_value | float) %}
                {{ current_amps + 1 }}
              {% elif current_amps > (new_target_value | float) %}
                {{ [current_amps - 1, min_amps] | max }}
              {% else %}
                {{ new_target_value }}
              {% endif %}
        - delay:
            seconds: 5

mode: restart


Commenti
Ancora nessun commento. Sii il primo a partecipare.