
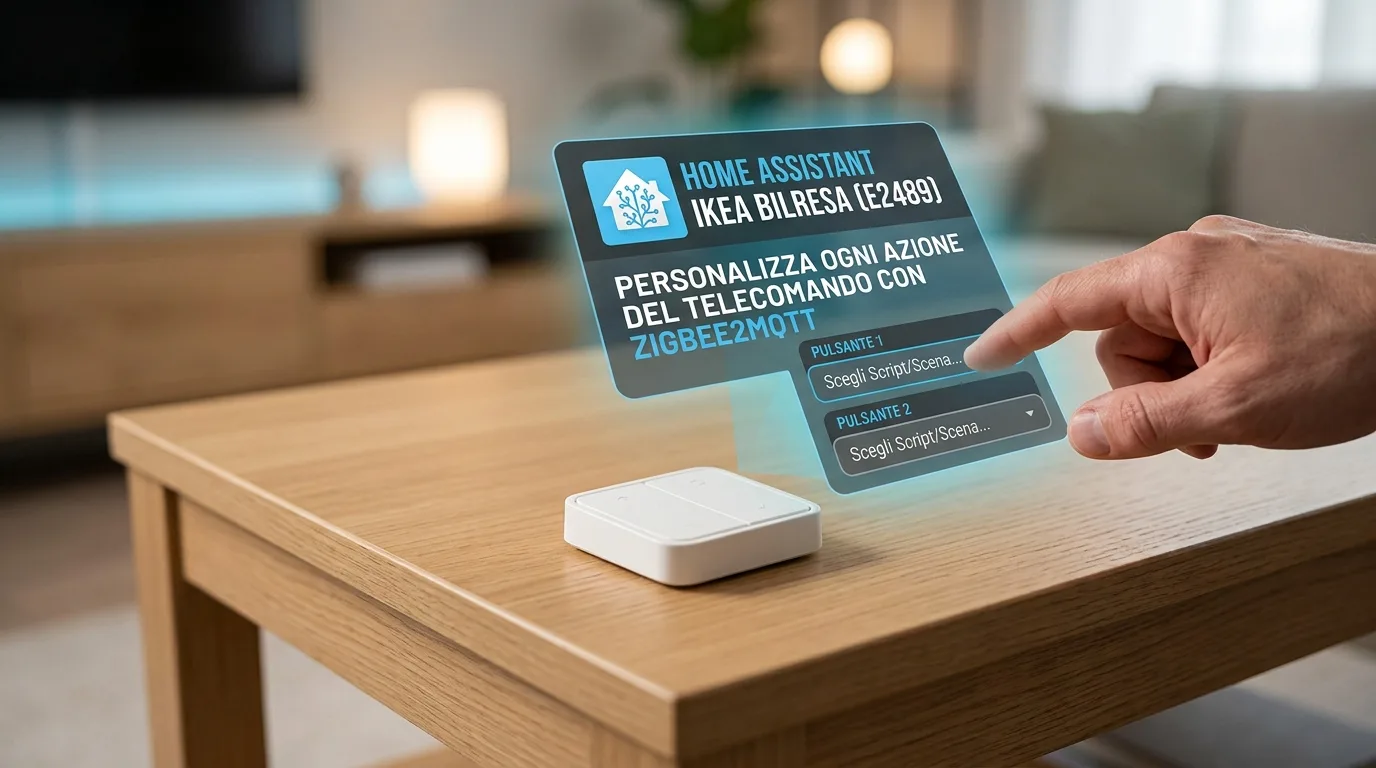
IKEA BILRESA (E2489): Customize every action of the 2-button remote control with Zigbee2MQTT
Learn how to fully customize the IKEA BILRESA remote control (E2489) via Zigbee2MQTT in Home Assistant. Assign scripts, scenes and more to each
IKEA BILRESA Zigbee2MQTT is at the center of the novelty: The IKEA BILRESA remote control (E2489) is a two-button device which, when paired via Zigbee2MQTT, offers an unprecedented level of customization thanks to a new blueprint forhomeAssistant. Unlike standard solutions that are limited to controlling lights, this blueprint uses "Action Selectors" to allow the user to assign any action available in Home Assistant to each button event: single, double and long press (hold). It has been tested with the latest firmware (1.8.5) of the device, ensuring full compatibility and functionality.
What is the IKEA BILRESA remote control (E2489)?
IKEA BILRESA Zigbee2MQTT - The IKEA BILRESA remote control (E2489) is a compact device designed to simplify the control of smart home devices. Equipped with two distinct buttons, it offers the possibility of performing different actions depending on how it is pressed. Its true potential emerges when it is integrated into an advanced home automation ecosystem such as Home Assistant, especially if managed via Zigbee2MQTT, which unlocks its deeper customization capabilities.
Advanced customization with Zigbee2MQTT and Home Assistant
The real strength of this remote control lies in its flexibility. The blueprint developed for Home Assistant allows you to map any type of button interaction – single press, double press and long hold – to scripts, scenes, switch control, media players or any other entity present in your home automation system. This opens the door to complex and highly customized automation scenarios, going far beyond predefined functionality.
Installation requirements
To take full advantage of this blueprint, some hardware and software components are needed:
- Hardware:The IKEA BILRESA 2-button remote control (model E2489).
- Integration:Zigbee2MQTT must be installed and running in your Home Assistant system.
- Controllers:A compatible Zigbee coordinator connected to the system.
Blueprint import and configuration
Once you make sure you have all the requirements, the setup process is relatively simple:
- Make sure your BILRESA remote control is properly paired with Zigbee2MQTT.
- Import the blueprint into Home Assistant.
- Create a new automation by selecting your BILRESA remote control from the list of available devices.
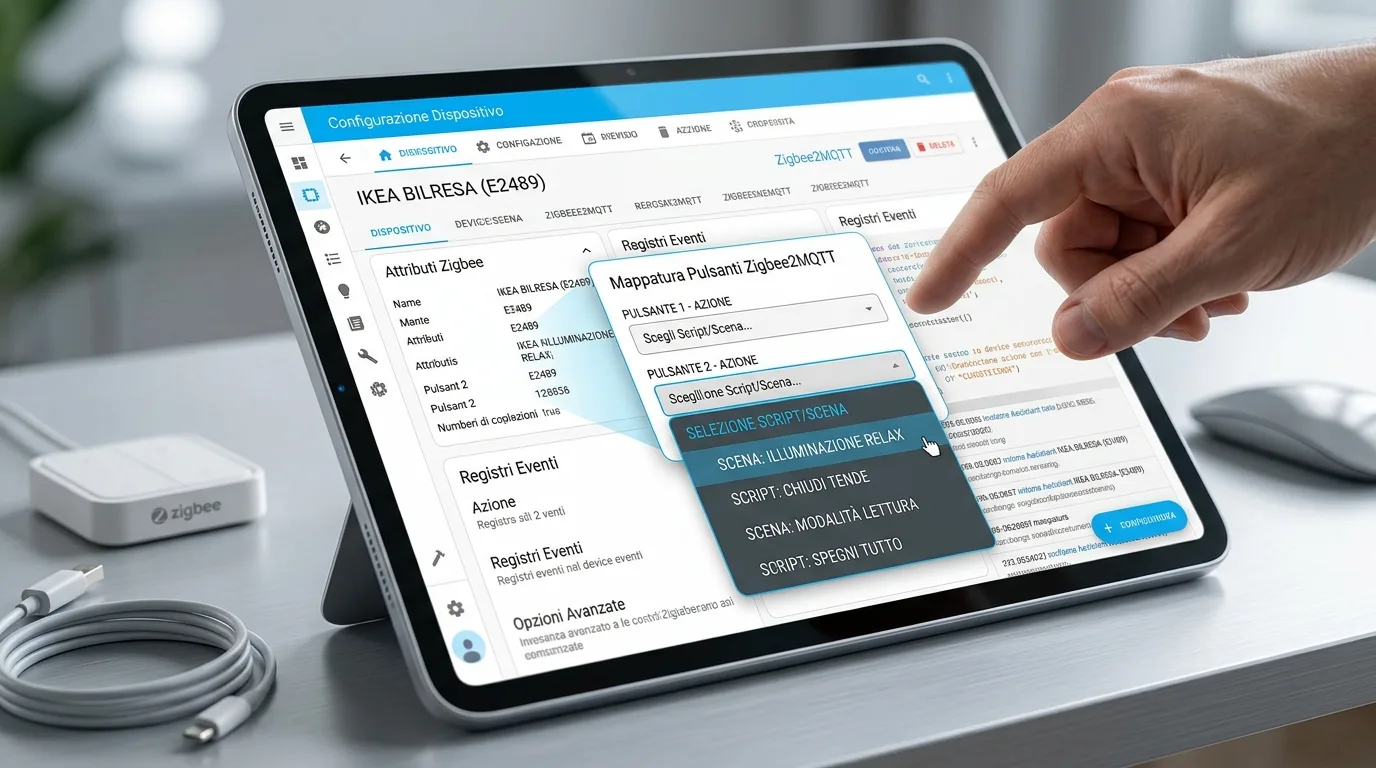
- Assign desired actions to various triggers (single, double, long press) for both buttons.
The blueprint is designed to be "Device-Based", which means you won't have to search for hidden "action" entities, but will be able to select your device directly.
How the Blueprint works
The blueprint defines a series of triggers based on Zigbee2MQTT device events. These triggers are then linked to different user-defined action sequences via the "Action Selectors". In practice, when you press the remote control button, Home Assistant receives the event via Zigbee2MQTT and, based on the type of pressure (single, double, long), performs the action you have previously configured. A specific action for releasing the button is also included, useful for example to interrupt dimming or movement processes.
Here is the YAML configuration of the blueprint:
blueprints:
  name: IKEA BILRESA (Z2M) - Full Custom Actions
  description: "Assign any action to every button of the BILRESA remote via Zigbee2MQTT (Single, Double, and Long press supported)."
  domain: automation
  inputs:
    remote_device:
      name: Bilresa Remote
      description: Select your Bilresa remote from the Zigbee2MQTT list.
      selector:
        devices:
          integration: mqtt
          manufacturer: IKEA
          model: BILRESA remote control with buttons
          multiple: false
    action_on_single:
      name: "Button I - Single Click"
      default: []
      selector:
        action: {}
    action_on_double:
      name: "Button I - Double Click"
      default: []
      selector:
        action: {}
    action_on_long:
      name: "Button I - Long Press (Hold)"
      default: []
      selector:
        action: {}
    action_off_single:
      name: "Button O - Single Click"
      default: []
      selector:
        action: {}
    action_off_double:
      name: "Button O - Double Click"
      default: []
      selector:
        action: {}
    action_off_long:
      name: "Button O - Long Press (Hold)"
      default: []
      selector:
        action: {}
    action_stop:
      name: "Button Released (Stop)"
      default: []
      selector:
        action: {}

mode: restart
max_exceeded: silent

triggers:
- platform: device
  domain: mqtt
  device_id: !input remote_device
  type: action
  subtype: 'on'
  id: 'on'
- platform: device
  domain: mqtt
  device_id: !input remote_device
  type: action
  subtype: 'on_double'
  id: 'on_double'
- platform: device
  domain: mqtt
  device_id: !input remote_device
  type: action
  subtype: 'off'
  id: 'off'
- platform: device
  domain: mqtt
  device_id: !input remote_device
  type: action
  subtype: 'off_double'
  id: 'off_double'
- platform: device
  domain: mqtt
  device_id: !input remote_device
  type: action
  subtype: brightness_move_up
  id: up
- platform: device
  domain: mqtt
  device_id: !input remote_device
  type: action
  subtype: brightness_move_down
  id: down
- platform: device
  domain: mqtt
  device_id: !input remote_device
  type: action
  subtype: brightness_stop
  id: stop

action:
- choose:
  - conditions: '{{ trigger.id == "on" }}'
    sequence: !input action_on_single
  - conditions: '{{ trigger.id == "on_double" }}'
    sequence: !input action_on_double
  - conditions: '{{ trigger.id == "up" }}'
    sequence: !input action_on_long
  - conditions: '{{ trigger.id == "off" }}'
    sequence: !input action_off_single
  - conditions: '{{ trigger.id == "off_double" }}'
    sequence: !input action_off_double
  - conditions: '{{ trigger.id == "down" }}'
    sequence: !input action_off_long
  - conditions: '{{ trigger.id == "stop" }}'
    sequence: !input action_stop
Demonstration values such as `action_on_single`, `action_on_double`, `action_on_long`, `action_off_single`, `action_off_double`, `action_off_long`, and `action_stop` must be replaced by the user with the specific actions or scripts they want to run in their Home Assistant system.
Useful Resources:


Commenti
Ancora nessun commento. Sii il primo a partecipare.