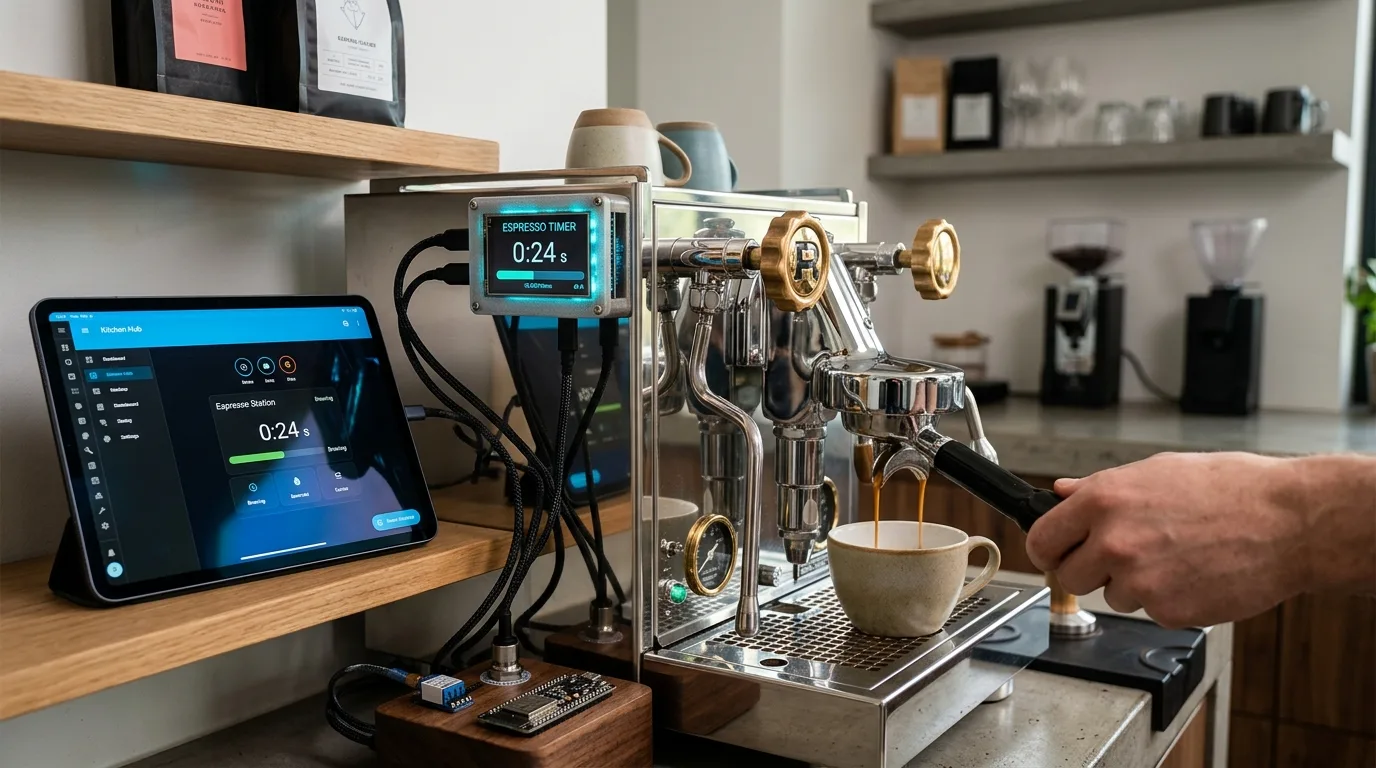
Create your own custom espresso timer with ESPHome and an AMOLED display
Learn how to build a custom espresso timer using ESPHome, a Waveshare AMOLED display, and Home Assistant for total control.
Create your own custom espresso timer with ESPHome and an AMOLED display
ESPHome espresso timer is at the heart of the news: For coffee enthusiasts who want precise control over extraction times, creating a custom espresso timer is a fascinating project. Using ESPHome, a Waveshare AMOLED display, and Home Assistant integration, you can build a smart device that not only monitors extraction, but also provides useful weather information. This project turns a simple coffee machine into a smart control center for your coffee station.
Espresso Shot Timer for Rocket Apartment
Description:A compact touch display installed next to the espresso machine that shows the weather, time and, above all, monitors coffee extraction times. The color of the display changes based on the duration of the draw, providing immediate visual feedback.
Hardware:Waveshare ESP32-S3 1.8" AMOLED Touch Display (368x448, FT5x06 touch, QSPI), USB-C cable.
Software:ESPHome, LVGL, Home Assistant.
Main features:Drift-free timer with 0.1s accuracy, START/STOP/RESET buttons on the screen, weather display from Home Assistant, time/date synchronization, automatic display shutdown.
What is the Rocket Apartment Express Timer?
ESPHome espresso timer - The project consists of a small touch display, strategically positioned near the espresso machine, designed to perform two main functions. In idle state, it displays weather information such as outside temperature, current conditions and humidity, as well as the time and date. When the user wants to prepare an espresso, just a tap on the screen starts a timer that counts from 0.0 seconds. The color of the display changes dynamically to indicate draw status: green for the first 24 seconds, then a transition to yellow and red for up to 35 seconds, and finally red for draws longer than 35 seconds. This visual system helps optimize the extraction process.
Hardware Required
To make this express timer, the hardware required is surprisingly minimal. The central component is theWaveshare ESP32-S3 1.8" AMOLED Touch Display, featuring a resolution of 368x448 pixels, an FT5x06 touch controller and QSPI connectivity. Added to this is a simple USB-C cable for power and programming. The use of an AMOLED display guarantees bright colors and good contrast, improving the readability of the information displayed.
Express Timer Features
The features offered by this express timer are multiple and designed for a complete user experience. The timer is designed to bedrift-free, maintaining an accuracy of 0.1 seconds thanks to the use of the functionmillis(), ensuring that pauses and restarts do not affect accuracy. There are virtual buttons on the screen to start, stop and reset the timer. The weather display is powered by Home Assistant entities (such as OpenWeatherMap or other weather sensors). The time and date are synchronized by Home Assistant, automatically managing time zones and daylight saving time. There is also an automatic display shutdown function, configurable from 0 to 300 seconds, which reactivates by touch. The display remains lit while the espresso is being extracted. The opacity of the background image is adjustable.
Integration with Home Assistant
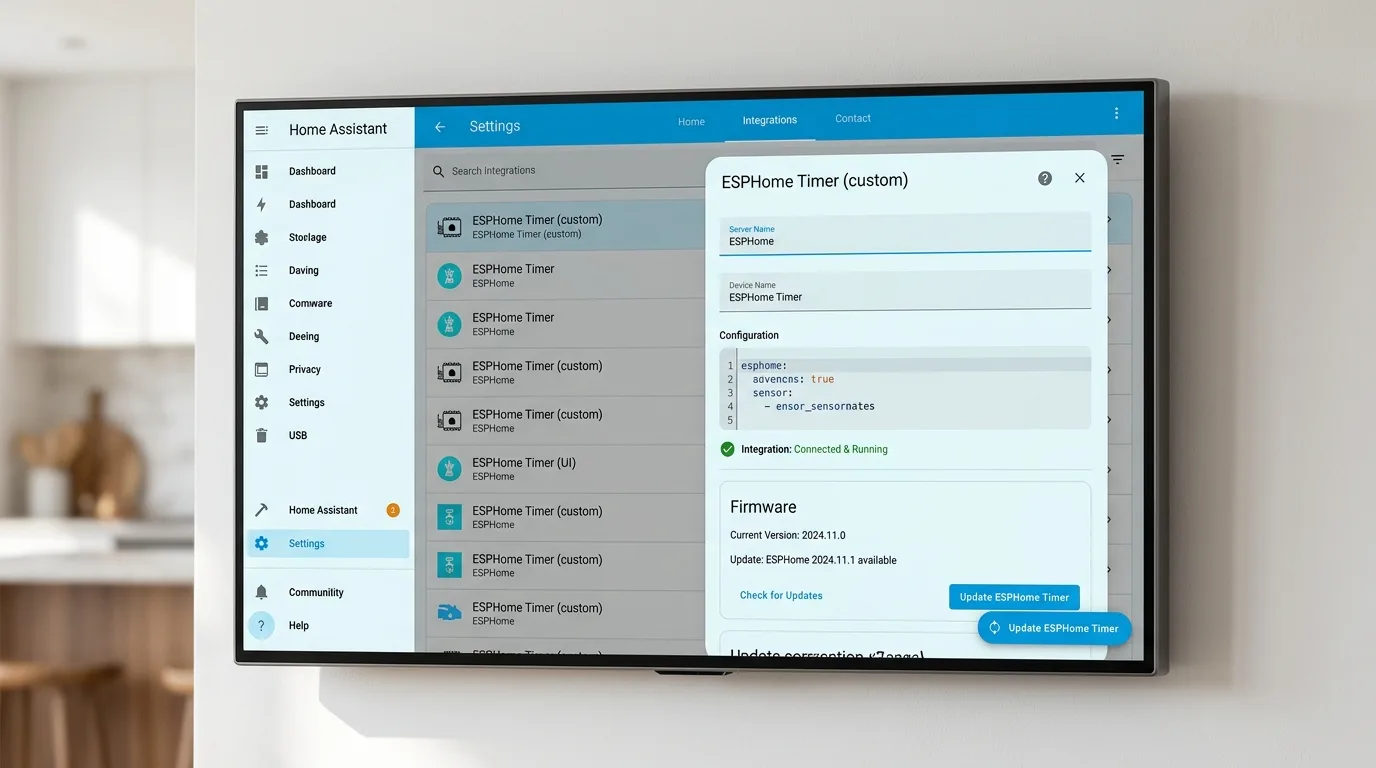
The integration with Home Assistant is one of the strong points of this project. All features of the Express Timer are exposed as entities, allowing flexible configuration directly from the Home Assistant interface, without the need to recompile and flash the firmware every time. Configurable entities include:Numbersfor brightness, auto-shutdown timeout, perfect draw time, maximum draw time, weather update interval, and background opacity;Buttonsto start, stop and reset the timer; aBinary sensorwhich indicates whether the timer is running;Sensorsfor the last extraction time and a diagnostic for the time remaining until the display turns off; and an entityLightto turn the display on/off.
Ideas for Use A
advanced
The entityLast Shot Timeit can be used to create historical graphs and extraction statistics, allowing you to analyze performance over time. The entityRunning TimerIt can act as a trigger for automations, such as turning on a light or pausing a media player while the coffee machine pump is active. You can also start the timer automatically via a smart plug or asensorof power connected to the machine, eliminating the need to physically interact with the screen. The project supports presets for different types of coffee, such as Ristretto (18 s / 25 s), Espresso (24 s / 35 s) and Lungo (30 s / 45 s).
Installation and Configuration
To get started, you need to clone your project's GitHub repository and copy the filesecrets.yaml.exampleinsecrets.yamlby entering your Wi-Fi credentials and API key. Afterwards, you can run the commandesphome run espresso-shot-timer.yamlto compile and upload the firmware to your device. The project was tested with ESPHome 2026.9.0 and ESP-IDF 5.5.5. The firmware takes up approximately 1.64 MB of flash space and 113 KB of RAM. A known issue concerns the touch controller (FT5x06) which sometimes becomes unresponsive after a reboot; an additional flash usually solves the problem, but suggestions for a permanent solution are sought. It is advisable to exclude the sensorDisplay Off Infrom the Home Assistant Recorder to avoid burdening the database.
Useful Resources


Commenti
Ancora nessun commento. Sii il primo a partecipare.