
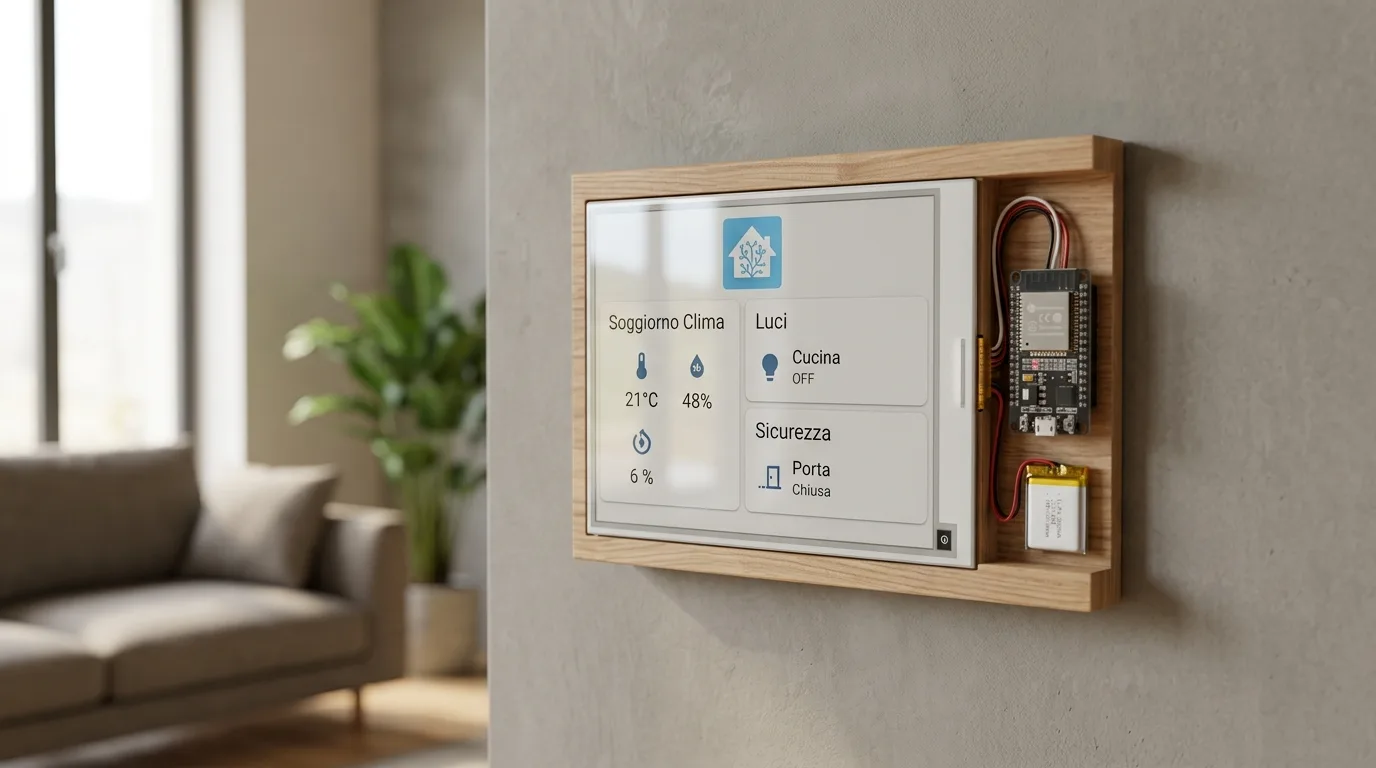
Building an affordable Home Assistant display with ESP32: the complete guide
Find out how to make an affordable and functional Home Assistant display using an ESP32 module. A do-it-yourself guide for your smart home.
In the panorama of modern home automation, the possibility of controlling and monitoring your smart home via a dedicated interface is increasingly requested. Although commercial solutions exist, making adisplayhomeAssistant ESP32independently represents an economical and highly customizable alternative. This guide from TecnologiaDigitale will explore how, with a few components and a little manual skill, it is possible to create a touch control panel for your smart home, overcoming the limits and costs of tablets or proprietary hubs.
The idea of a dedicated display for Home Assistant isn't new, but it often comes up against the need to invest in expensive devices or repurpose old tablets that may not be optimized for continuous use. The solution based on ESP32, a versatile and low-cost microcontroller, offers a "do it yourself" approach that guarantees flexibility and total control over the project. This allows home automation enthusiasts to customize every aspect, from hardware to software, to perfectly adapt it to their needs.
Make aHome Assistant ESP32 display: the advantages of doing it yourself
Opting for an ESP32-based Home Assistant display offers numerous advantages over commercial alternatives. The first and most obvious is the cost. With just a few euros you can purchase the necessary components, compared to hundreds of euros for a tablet or a dedicated smart home hub. Furthermore, the open source nature of the project allows for deep customization, both aesthetic and functional, which is difficult to find in pre-packaged products. You have full control over what information you see and how you interact with it.
Why not use tablets or commercial hubs?
Tablets, while versatile, often consume a lot of energy, require battery management and can present software obsolescence issues. Commercial hubs, on the other hand, are often limited in their features and integrations, locking the user into specific ecosystems. A DIY display with ESP32, on the other hand, is designed for a single purpose, ensuring energy efficiency, stability and seamless integration with Home Assistant, without superfluous features that burden the system.
Upgrade your Smart Home with a DIY Display
Building a Home Assistant display with ESP32 is an excellent way to add a physical control point to your home automation, with minimal investment and maximum customization. It is the ideal solution for those looking for efficiency, control and a personal touch in managing their smart home.
Essential components for your display
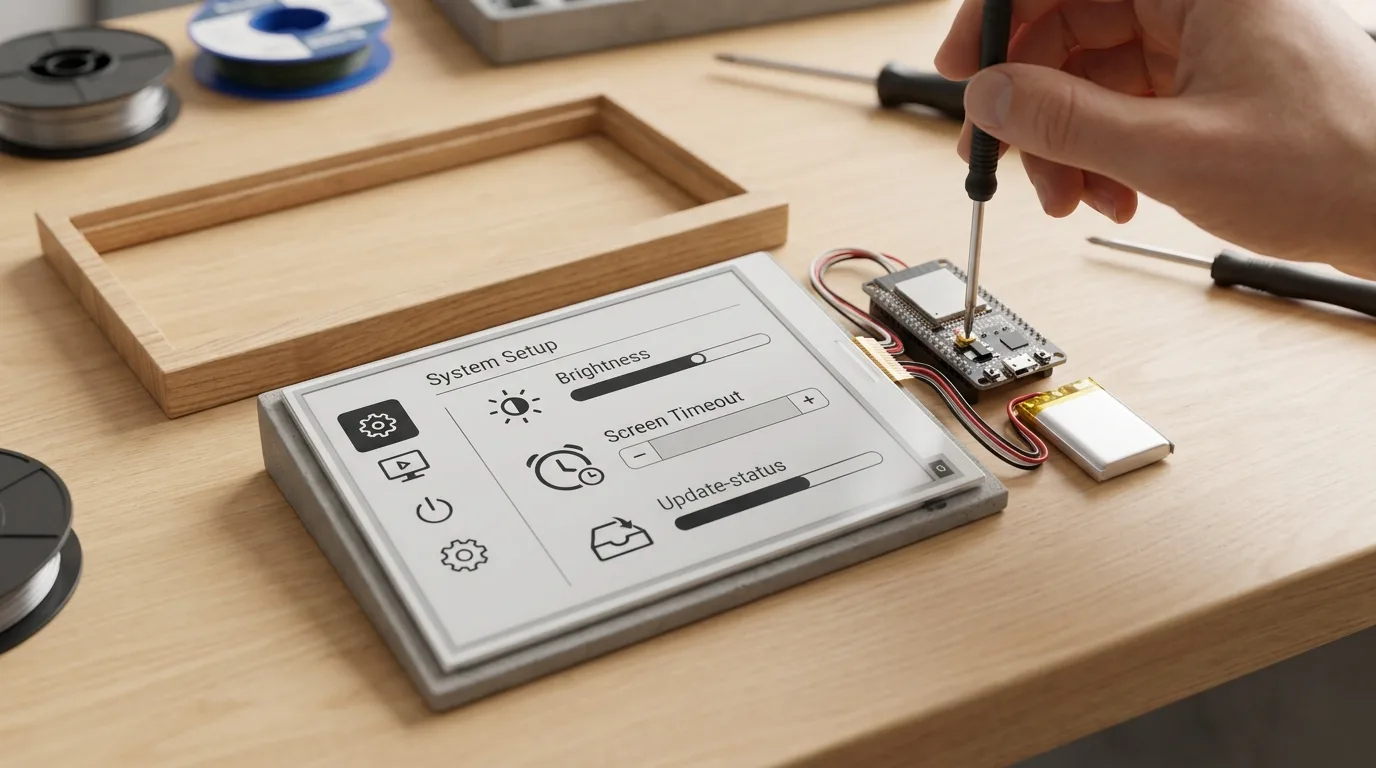
To start the project, you will need a few readily available components. The heart of the system will be an ESP32 module, preferably a version with integrated Wi-Fi. To this will be added a touch display, such as a 2.4 or 3.5 inch TFT model, compatible with ESP32. You will also need connection cables, a breadboard (for prototyping), and possibly a 3D printed case for a more professional look. The choice of components is flexible and depends on the size and functionality desired for your control panel.
Step by step setup guide
The creation of the ESP32 Home Assistant display is divided into several phases, from hardware preparation to software configuration. Although it may seem complex, by following the steps carefully, even those with little experience can achieve excellent results.
Preparing the development environment
The first step is to set up the development environment on your computer. You will need to install the Arduino IDE or PlatformIO, along with the drivers for the ESP32. This will allow you to program the microcontroller and load the firmware necessary for the display to operate. There are numerous guides online that explain in detail how to install these tools.
Loading the firmware and initial setup
Once the environment is ready, you will need to load specific firmware onto the ESP32. Projects like ESPHome or Tasmota offer pre-configured solutions that greatly simplify the process. These firmware allow you to define the graphic interface, the sensors to read and the commands to send to Home Assistant. Initial setup includes setting up your Wi-Fi credentials and connection parameters to your Home Assistant server.
Integration and customization with Home Assistant
The integration ofHome Assistant ESP32 displaywith the home automation system it is the final step to make your panel operational. Through the Home Assistant interface, you can add your ESP32 device as an entity and start creating custom dashboards. You will be able to view the status of the devices, control lights, thermostats, shutters and much more, directly from your touch display. The beauty of this solution lies in its flexibility: you can change the graphics and functions at any time, adapting them to the evolution of your smart home.
Final considerations and future perspectives
Building a Home Assistant display with ESP32 is a rewarding project that combines cost savings, learning and customization. Not only will you have a functional and tailor-made control panel, but you will also gain valuable skills in the field of electronics and programming. The expansion possibilities are endless: you could add temperature, humidity, brightness sensors or integrate advanced features like audio playback. With a little effort, yoursHome Assistant ESP32 displayit will become an indispensable element for managing your smart home, demonstrating that advanced home automation is within everyone's reach.


Commenti
Ancora nessun commento. Sii il primo a partecipare.